
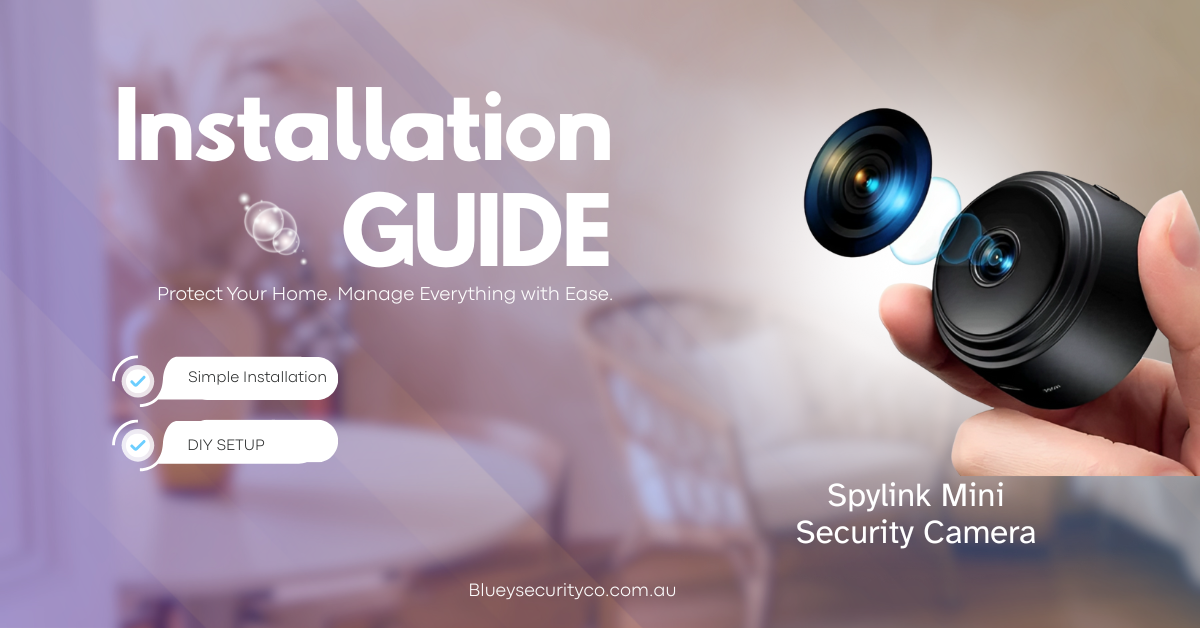
If you’ve just purchased the SpyLink Mini Wireless Security Camera from Bluey Security Co., you’ve chosen a compact yet powerful solution for home or business surveillance. This ultra-small wireless camera gives you remote access, smart motion alerts and flexible positioning, all without the hassle of major wiring.
Here’s how to install and set it up in easy steps.
Unpack and Check What’s Included
When you open the box, make sure you have everything you’ll need:
- The SpyLink Mini camera unit
- USB or power-cable charger (if included)
- Mounting accessories (stand, bracket or adhesive pad)
- Quick-start guide / user manual
You’ll also want your WiFi SSID and password ready, because the camera will connect to your 2.4 GHz WiFi network (most wireless cameras like this use 2.4 GHz).
(optional) If the model supports a microSD card, you may have one or you might need to purchase one (often up to 128 GB) for local recording.
Choose the Right Location
Because the SpyLink Mini is small and wireless, you have more flexibility in placement than many fixed CCTV units. But to get the best results, consider the following:
- Pick a location where it gets a strong WiFi signal. Use your phone in that spot to check connection strength. If your phone has full bars, the camera should manage too.
- Choose a vantage point with a clear view of the area you want to monitor (entryway, hallway, side door, yard). Avoid corners where view is obstructed.
- Ensure the power cable (if it needs wired power) can reach a convenient outlet or charger. If it’s battery powered, ensure it’s in a spot you can recharge or replace easily.
- For night-time usage, consider how ambient light might affect the camera’s view, or ensure the camera has adequate infrared/night vision for low light.
Mount the Camera
Once the location is chosen, you can mount the camera:
- Position the mounting bracket or stand on the surface (wall, shelf, ceiling mount) and mark any screw holes or adhesive placement.
- If screws are provided and you’re mounting on a solid surface (wood, masonry), drill pilot holes and insert any wall plugs if needed.
- Secure the bracket or adhesive pad firmly.
- Attach the SpyLink Mini camera to the bracket/stand. Leave the camera slightly loose so you can adjust its angle after connecting.
- Plug in the power cable or insert the battery (whichever the model uses). If the camera is battery-powered, ensure it’s fully charged before proceeding.
Connect to WiFi and Set Up the App
With the camera powered and mounted, you’ll now connect it to your phone and WiFi:
- Download the specified mobile app from the manual (the app name is HIDVCAM) from the iOS App Store or Google Play.
- Create or log into your app account.
- In the app tap “Add Device” or “+” and select the WiFi camera type.
- Make sure your phone is connected to your 2.4 GHz WiFi network (not 5 GHz).
- Follow the in-app instructions: you may be asked to scan a QR code on the camera, or hold your phone near the camera so it hears a beep or sees a flashing LED.
- Once the connection is successful you’ll see the live camera feed in the app. Give the camera a meaningful name (e.g., “Garage Cam” or “Nursery Cam”) so you can identify it easily later.
Configure Settings and Test the Camera
Now your camera is connected, take a few minutes to customise its features and test it:
- Enable motion detection alerts so you receive a notification on your phone when something moves in the view.
- Set night vision or infrared mode if available and test the image quality in low light.
- If the camera supports two-way audio, test speaking and listening from the app.
- If you have inserted a microSD card for local storage, format it in the app and verify recordings.
- Walk through the monitored area and trigger motion: check if you receive alerts, view the feed again, and adjust the angle if needed to cover blind spots or unwanted areas.
Secure and Finalise the Setup
After you’re satisfied with setup and testing:
- Tighten any screws and ensure the camera is firmly mounted and cannot easily be knocked or shifted.
- Tidy and secure power cables so they are not dangling or in danger of being pulled.
- Ensure the area remains dry and safe for the camera (if installed outdoors or in a semi-outdoor space).
- Double check your WiFi and power remain stable in that location—weak signal or intermittent power will affect reliability.
Maintenance Tips
To keep the SpyLink Mini running smoothly over time:
- Clean the lens occasionally to avoid dust or smudges affecting video clarity.
- Check the app periodically for firmware updates and install them when prompted.
- Review your motion-alert logs and clear any old files if using local storage so you don’t run out of space.
- If the camera starts having connection issues or misses alerts, test the WiFi signal again; if necessary move the router, add a WiFi extender, or relocate the camera.
You’re All Set
Your SpyLink Mini Wireless Security Camera is now installed and ready to provide smart surveillance for your home or property. With compact size, flexible placement, wireless connectivity and remote control via your phone, it’s a powerful yet simple DIY security solution.
For more information, accessories or support, visit the product page at Bluey Security Co.

Leave a comment
This site is protected by hCaptcha and the hCaptcha Privacy Policy and Terms of Service apply.