
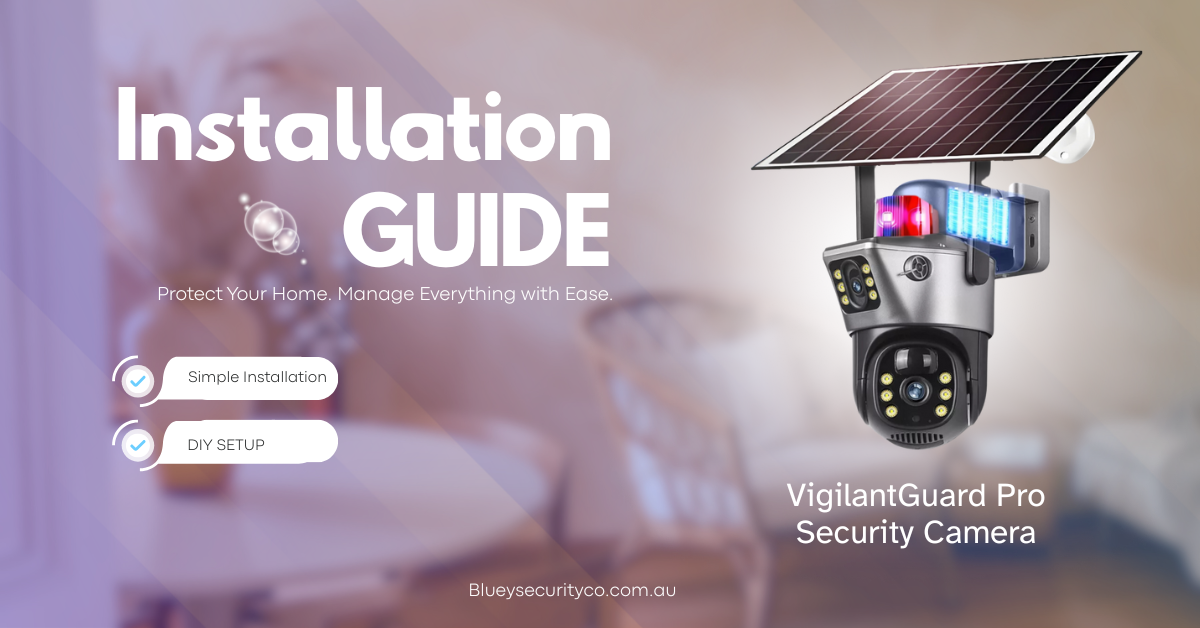
If you’ve just purchased the VigilantGuard Pro Wireless Security Camera from Bluey Security Co., you’ve chosen a powerful 2K dual lenses, solar power, and 360° coverage, this wireless security camera keeps your property safe 24/7.
Here’s how to install and set it up in easy steps.
Unbox & Check What’s Included
When your VigilantGuard Pro arrives, open the box and confirm you have everything:
- The main camera unit (solar-powered, with dual lenses)
- Solar panel (7.5 W) plus solar bracket and cable
- 128 GB Micro SD card pre-included for storage (some variants)
- Mounting kit (bracket, screws, wall plugs)
- User manual / quick-start guide
- (For 4G variant) Nano SIM slot, supports remote sites without WiFi
Also ensure you have:
- Access to a 2.4 GHz WiFi network (for the WiFi model)
- Alternatively a data-only 4G SIM with coverage (for the 4G model)
- A ladder or safe place to mount if you’re putting it on a wall or high point
Choose the Ideal Location
Getting the right location is crucial for optimal performance:
Sunlight & Solar Panel:
- The solar panel must get good direct sunlight so the internal battery remains charged.
- Avoid heavy shade, large tree branches or deep overhangs that block sunlight.
Signal & Coverage:
- For the WiFi model: test your phone’s WiFi signal where you plan to install. If it’s weak, the camera might struggle.
- For the 4G model: check your phone for strong 4G signal at the mounting spot.
- Choose a vantage point where the camera can survey the area you most care about (gate, driveway, yard, side entrance).
- Make sure the panel and camera are mounted securely and in view of the area you want to monitor.
Weather & Mounting Surface:
- The camera is weather-proof (IP66) for outdoor use.
- Choose a stable wall, post or structure where the camera bracket can be mounted firmly.
Mount the Camera & Solar Panel
Follow these steps to install:
- Use the mounting bracket and hold it in the desired position. Mark the screw holes.
- Drill holes and insert the wall plugs if mounting into brick or masonry.
- Secure the bracket with screws provided.
- Attach the camera unit to the bracket but leave the angle slightly adjustable.
- Mount the solar panel nearby (within the cable length allowed) and orient it towards the sun.
- Route the solar cable neatly to the camera’s input port and connect it securely.
- Once mounted, adjust the camera’s tilt and pan (if applicable) so you get the desired view.
Power On & Connect to Network
With the hardware installed, it’s time to get the camera online:
For WiFi model:
- Turn on the camera (check manual for the power switch location).
- Download the V380 PRO app (ensure you use V380 PRO not standard V380)
- In the app, “Add Device” → select WiFi Camera.
- Connect your phone to your home 2.4 GHz WiFi network (camera only supports 2.4 GHz)
- Scan the QR code shown in the app with the lens of the camera (or follow instructions if they differ).
- Once connected, give the camera a name (e.g., “Front Gate Cam”) for easy identification.
For 4G model:
- Fully charge the unit via USB-C (if required) before mounting.
- Insert a compatible 4G nano SIM with active data plan.
- Use the app: “Add Device” → select 4G Camera. You may need to configure the APN for your provider.
- Follow scanning steps and verify connection.
Configure Settings & Test Operation
After it’s connected, take a few minutes to fine-tune its behaviour:
- Enable motion detection alerts so you’ll get notifications on your phone when someone moves in the monitored area.
- Set up night vision modes (colour & infrared) so images remain clear even in darkness.
- Test the built-in deterrent system: the camera activates flashing red & blue lights and a siren when motion is detected.
- Insert the SD card (if not already inserted) and format it via the app for local recording.
- View live feed and pan/tilt/zoom (16× zoom support) to verify the field of view covers what you want.
- Walk through the area at different times (day/night) and verify you get alerts, the feed is clear, and recording is functional.
Secure & Finalise the Installation
Once you are satisfied that everything works:
- Tighten all screws and ensure mounts hold firm.
- Use cable clips or trunking to secure any external wiring (solar cable).
- Apply silicone or sealant around drilled holes if mounting outdoors to prevent water ingress.
- Ensure the solar panel is free of obstructions and still receiving direct sunlight.
- Check the WiFi signal or 4G signal remains stable after mounting.
Maintenance & Best Practices
To keep VigilantGuard Pro performing reliably:
- Clean the solar panel every few months (remove dust, leaves, bird droppings) to maintain charging efficiency.
- Check the camera lens periodically and clean any debris.
- Review your SD card usage and archive or clear old footage to avoid running out of space.
- Update firmware via the app when updates are available to keep features and security up to date.
- After extreme weather, inspect the camera mounting and connections for any looseness or damage.
- If you change your router or WiFi network, remember to update camera settings accordingly.
✅ You’re Ready to Go!
With your VigilantGuard Pro installed and configured, your property is now under powerful surveillance: solar-powered, wireless, with smart motion detection, deterrent lights and alerts sent directly to your phone.
For more details or support, visit the product page at Bluey Security Co.

Leave a comment
This site is protected by hCaptcha and the hCaptcha Privacy Policy and Terms of Service apply.