
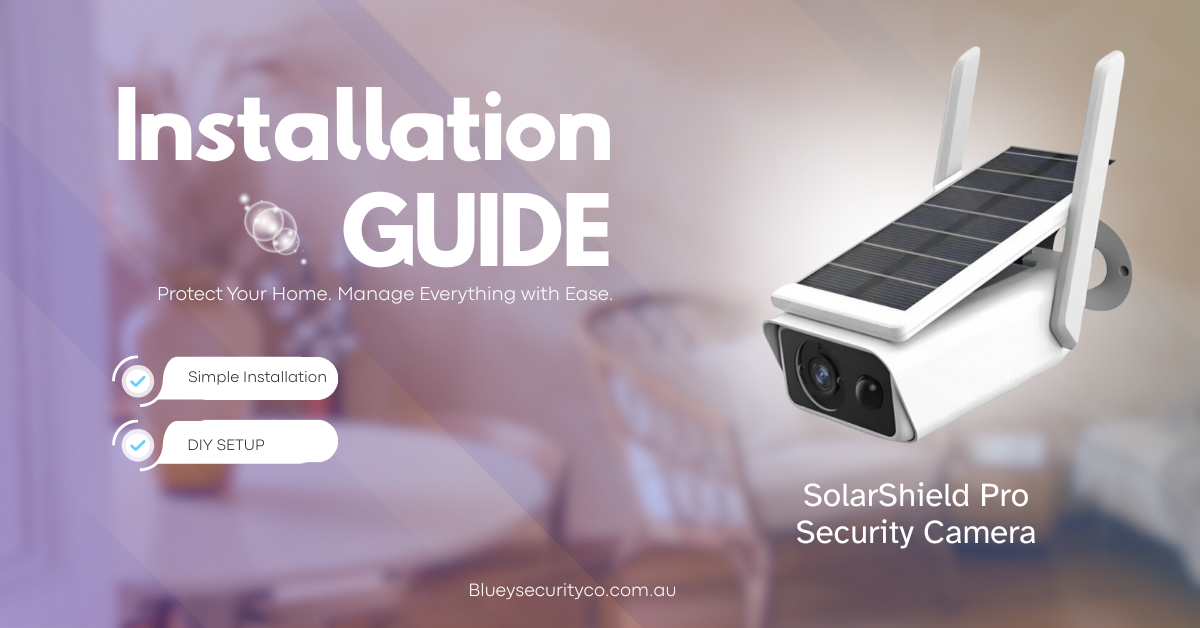
If you’ve just purchased the SolarShield Pro from Bluey Security Co. you’re investing in a solar-powered wireless CCTV camera that offers 2K (4MP) resolution, night vision, motion alerts and no complicated wiring.
This guide will walk you through how to install, connect and optimise your camera in a few easy steps.
Unbox & Check What’s Included
Before you start drilling or mounting, open the box and check you have everything:
- The SolarShield Pro camera unit (solar powered, wireless)
- Mounting bracket and screws (for wall, post or fence)
- Solar panel and/or cable connection point (the panel is built-in or integrated)
- User manual & quick-start guide
Also ensure your WiFi is ready – the camera joins your 2.4 GHz WiFi network, and you’ll want the WiFi signal to be strong at the installation location.
Choose the Right Location
Where you mount your SolarShield Pro matters a lot for performance. Choose a location that:
- Gets good direct sunlight for the solar panel. This ensures the internal battery stays charged and the camera remains active day and night.
- Has a strong WiFi signal from your router. If your phone or laptop struggles there, the camera might too.
- Provides a clear view of the area you want to monitor (front gate, driveway, shed, balcony).
- Is protected from extreme elements but still exposed to sunlight. The camera is weather-proof (rated IP66) to withstand rain and dust.
Mounting the Camera & Solar Panel
Now you’re ready to mount the device:
- Use the mounting bracket to mark where the screws will go (on wall, post or fence).
- Drill holes and insert wall plugs if mounting on brick or masonry.
- Secure the bracket firmly with screws.
- Attach the SolarShield Pro camera to the bracket but leave the angle a little loose for final adjustment.
- Orient the solar panel so it receives maximum sunlight (often facing north in the southern hemisphere). Ensure no overhangs or trees block the light.
- Run any cable (if external) neatly and make sure the connection between solar and camera is secure and weather sealed.
Power On and Connect to WiFi
With the hardware in place, you can power up and connect:
- The camera should automatically power on as solar energy and battery supply come online.
- Download the app (iCSee) on your smartphone.
- In the app, choose “Add Device” and select the WiFi camera option.
- Ensure your phone is connected to your 2.4 GHz WiFi network.
- Follow the onscreen instructions: you may be asked to scan a QR code on the camera or wait for an audio/visual prompt confirming connection.
- Once connected, give the camera a meaningful name (for example “Front Gate Cam”) for easier management.
Configure Settings & Test the Camera
After connection, take a few minutes to adjust and test settings:
- Enable motion detection alerts so you receive push notifications when something moves in the view.
- Configure night vision mode (infrared and/or full colour) depending on how much light the area gets.
- If available, enable two-way audio to talk and listen via the camera.
- Set up storage: you can insert a micro SD card (up to 128 GB) for local recording or opt for cloud storage.
- Perform a field test: walk through the monitored area and check if you get an alert, view live feed, check motion detection triggering, and verify battery/solar status in the app.
Finalise & Secure the Installation
Once you are satisfied with the view and connection:
- Tighten all mounting screws and ensure the camera and panel are stable.
- Clean up any visible wires and use cable clips or conduit to protect them.
- Apply silicone around drill holes if needed to prevent water ingress.
- Confirm the solar panel is still facing clear sunlight and the WiFi remains strong.
Maintain for Best Performance
To keep your SolarShield Pro performing well over time:
- Clean the solar panel surface regularly (dust, leaves or bird droppings reduce power).
- Check the camera’s firmware via the app and update when available.
- Reformat or clear your SD card occasionally to avoid storage issues.
- After severe weather, inspect mounting, connections and alignment.
- If WiFi signal decreases over time (vegetation growth, router moves), consider a WiFi extender.
You’re All Set
Your SolarShield Pro Wireless Security Camera is now installed and ready to protect your property day and night. With solar power, wireless connectivity, motion alerts and weatherproof design, it’s one of the easiest high-performance DIY security cameras you can install.
For more details or accessories, visit 👉 blueysecurityco.com.au/products/solarshield-pro-wireless-security-camera.

Leave a comment
This site is protected by hCaptcha and the hCaptcha Privacy Policy and Terms of Service apply.