
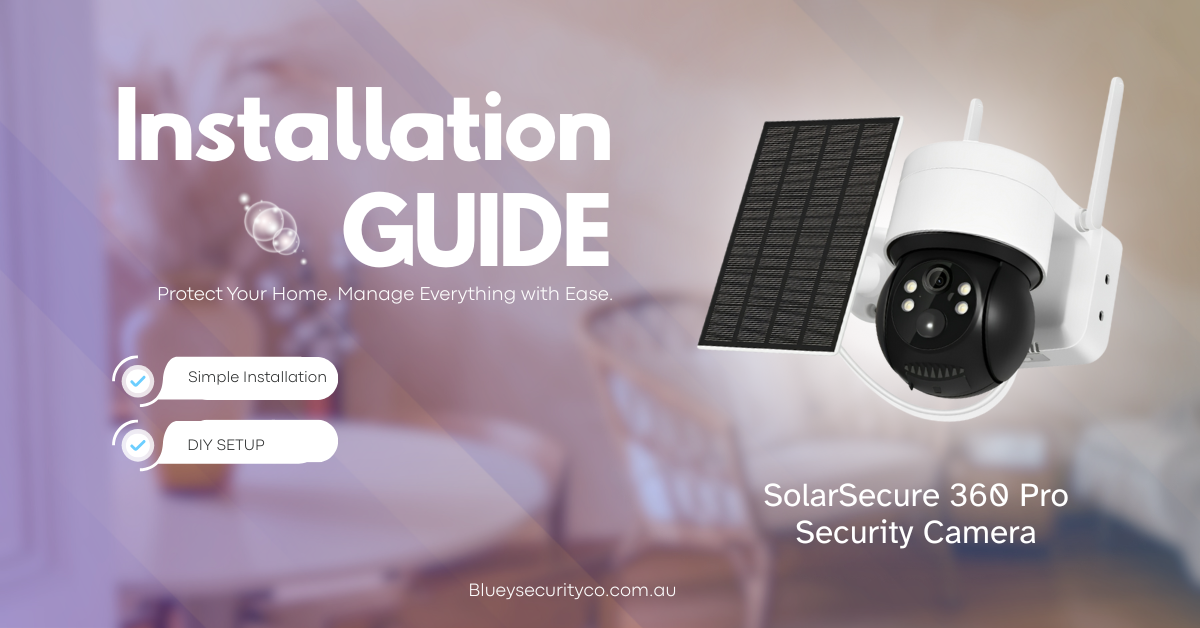
If you’ve recently purchased the SolarSecure360 Pro from Bluey Security Co., you’ve made a smart choice. This solar-powered WiFi camera gives you 360° coverage, motion detection, night vision and remote access without complicated wiring.
Here’s a simple guide to help you install and set it up in just a few steps.
What’s Included
Before you start, check that everything is in the box:
• SolarSecure360 Pro camera
• Solar panel with 3 metre cable
• Mounting kit with bracket, screws and plugs
• User manual
• Optional Micro SD card up to 128 GB
You’ll need a screwdriver and drill if you’re mounting it on a wall or post.
Make sure your WiFi is ready. The camera works on a 2.4 GHz connection only. You can check your phone’s WiFi signal in the planned location to make sure it’s strong enough.
Choose the Right Spot
Pick a location that gets strong sunlight, a reliable WiFi signal and a clear view of the area you want to monitor. The solar panel will work best when it faces north if you are in Australia. Avoid shaded areas, trees or roof overhangs that block sunlight.
The SolarSecure360 Pro has a wide field of view with 355° pan and 90° tilt, so once you install it you can adjust the angle through the app to cover more space.
Mount the Camera and Solar Panel
Start by holding the bracket where you want to install the camera and marking the screw holes. Drill the holes and insert wall plugs if needed. Fix the bracket securely using the screws in the kit.
Mount the camera but keep it slightly loose so you can adjust the angle later.
Next, install the solar panel nearby. Face it toward the sun and make sure it gets several hours of direct light each day. Plug the solar panel cable into the camera and check that the connection is snug and protected from rain. Use cable clips to keep the wire neat and safe from damage.
Power On and Connect the Camera
Your camera will turn on automatically once the solar panel starts charging it. You can also give it an initial charge with a USB cable if needed.
Download the iCSee app from the App Store or Google Play. Open the app and tap Add Device, then choose WiFi Camera. Make sure your phone is connected to your 2.4 GHz WiFi network. Follow the on-screen steps to pair the camera. You may be asked to scan a QR code or wait for a voice prompt confirming the connection.
Once connected, name your camera and save the settings. You should now see the live video feed on your phone.
Adjust Settings and Test the Camera
In the iCSee app, you can:
• Turn on motion detection alerts
• Switch between night vision or full-colour mode
• Enable two-way audio to talk through the camera
• Choose SD card or cloud storage
Walk in front of the camera to check if it sends a motion alert. Test the live view, pan and tilt controls and make sure the solar panel is charging the battery properly.
Secure and Finalise the Setup
Once you’re happy with the angle and settings, tighten all screws and tidy up the cables. Use a small amount of silicone to seal any holes if the camera is outdoors. Make sure the solar panel is firmly mounted and still getting full sunlight.
Check your WiFi connection again to confirm the signal stays strong.
Keep It Running Smoothly
Clean the solar panel every few months to keep it charging efficiently. Update the camera’s firmware in the app when new versions are available. Reformat your SD card occasionally for best performance. After strong wind or heavy rain, check that all cables and mounts are still secure. If your WiFi becomes weak, consider using a WiFi extender nearby.
You’re All Set
Your SolarSecure360 Pro is now ready to protect your home or property day and night. With solar power, smart alerts and remote viewing, it’s one of the easiest and most reliable DIY security cameras available.
For more details, accessories or troubleshooting, visit blueysecurityco.com.au

Leave a comment
This site is protected by hCaptcha and the hCaptcha Privacy Policy and Terms of Service apply.